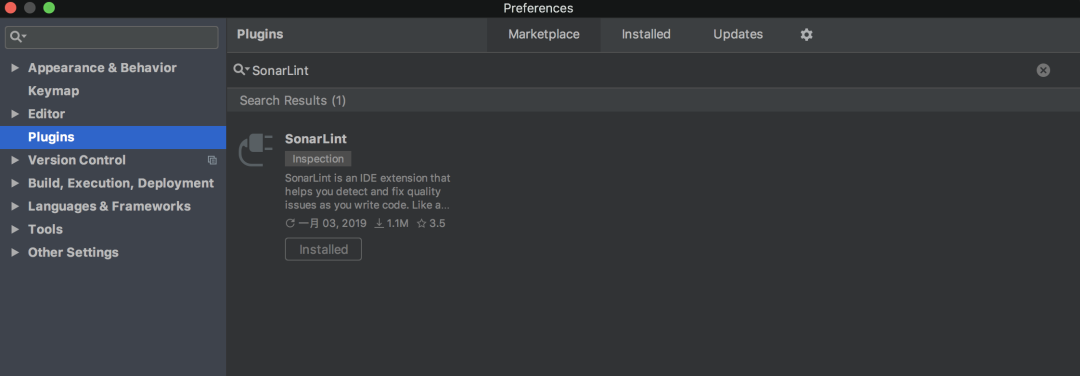
1. SonarLint
SonarLint是一个代码质量检测插件,可以帮助我们检测出代码中的坏味道

下载与安装
在需要检测的单个文件或者单个项目上右键 –> Analyze –> Analyze with SonarLint或者选中文件或目录,点击菜单栏 Analyze –> Analyze with SonarLint

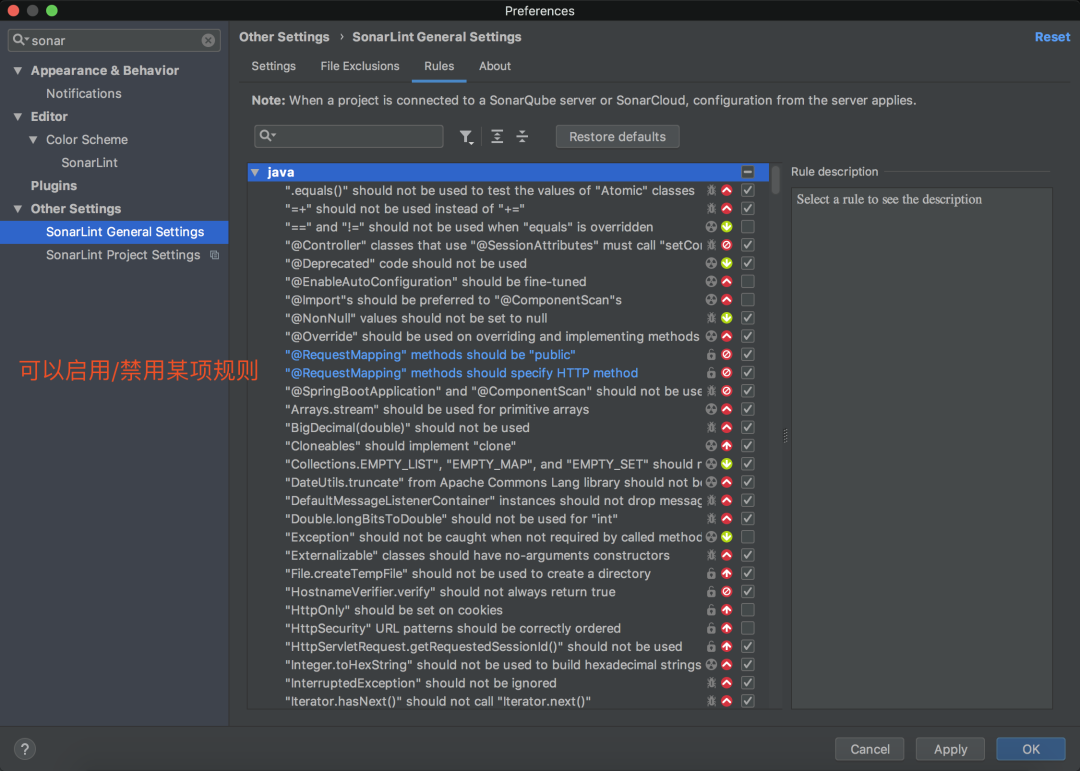
我们还可以禁用某些规则
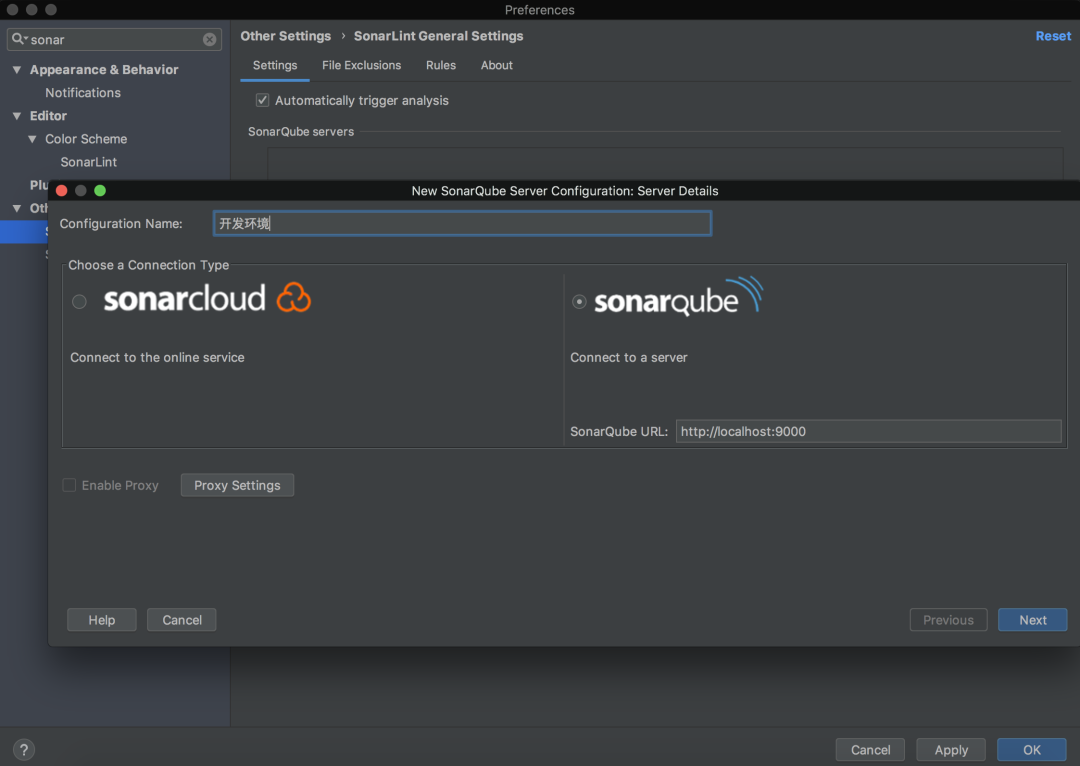
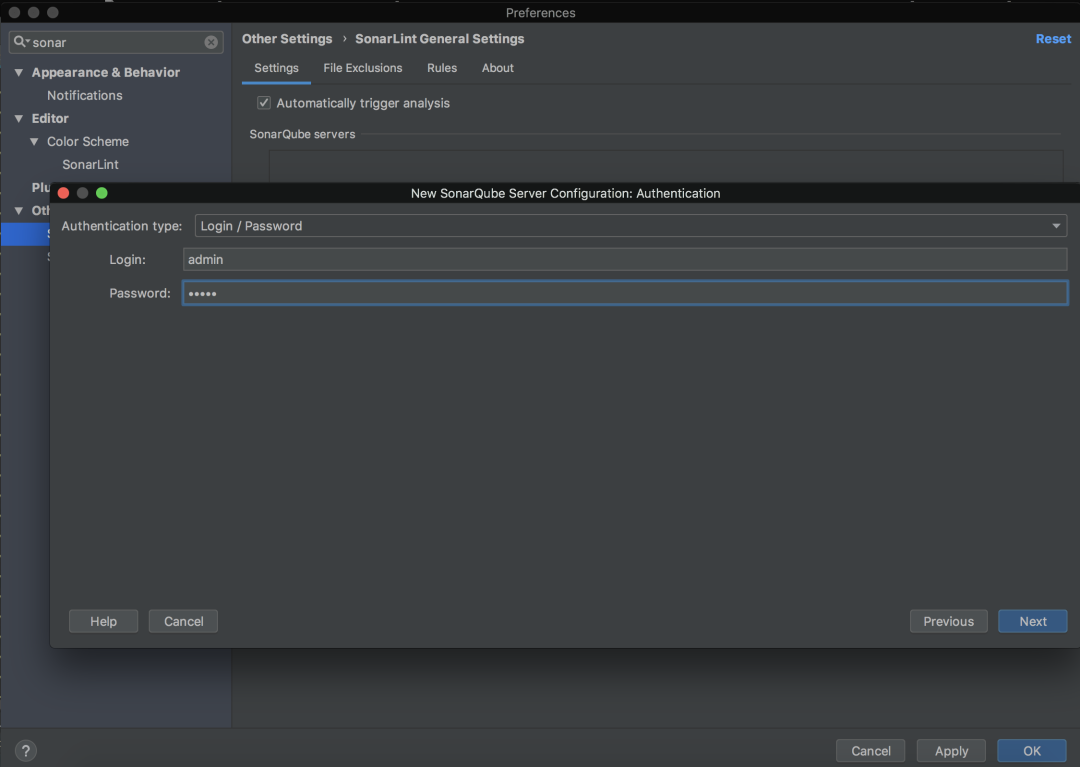
如果需要同步自定义的规则时,可以绑定到SonarQube

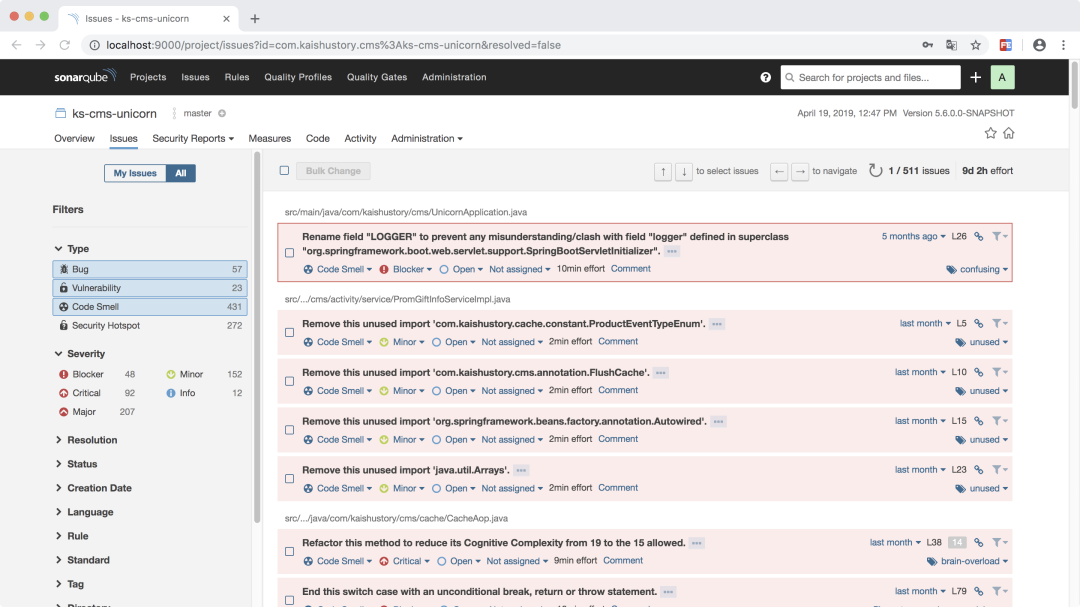
查看检测的结果

对于代码中的警告我们不能视而不见
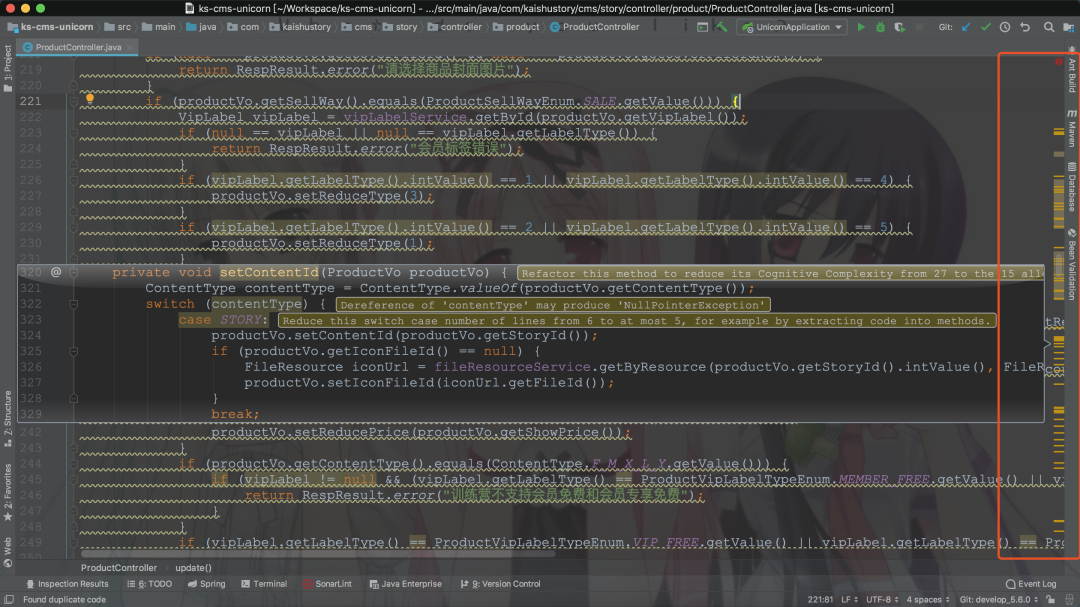
有了代码质量检测工具以后,在一定程度上可以保证代码的质量对于每一个问题,SonarLint都给出了示例,还有相应的解决方案,教我们怎么修改,极大的方便了我们的开发比如,对于日期类型尽量用LocalDate、LocalTime、LocalDateTime,还有重复代码、潜在的空指针异常、循环嵌套等等问题有了代码规范与质量检测工具以后,很多东西就可以量化了,比如bug率、代码重复率等,还可以自定义各种指标,方便管理人员查看为此,我们需要一个平台来记录每次检测分析的结果,这样就可以进行分析和统计,并且可以直观的看到这一切于是,SonarQube 闪亮登场!
2. SonarQube
SonarQube是一个开源的代码质量管理平台
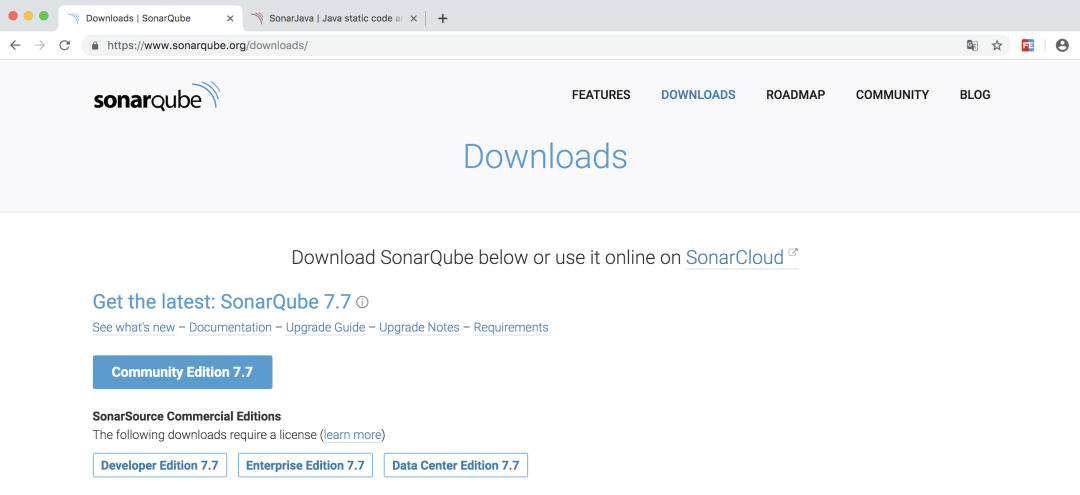
解压&本地启动https://docs.sonarqube.org/latest/setup/get-started-2-minutes/
unzip sonarqube-7.7.zip
cd sonarqube-7.7
bin/[OS]/sonar.sh consol
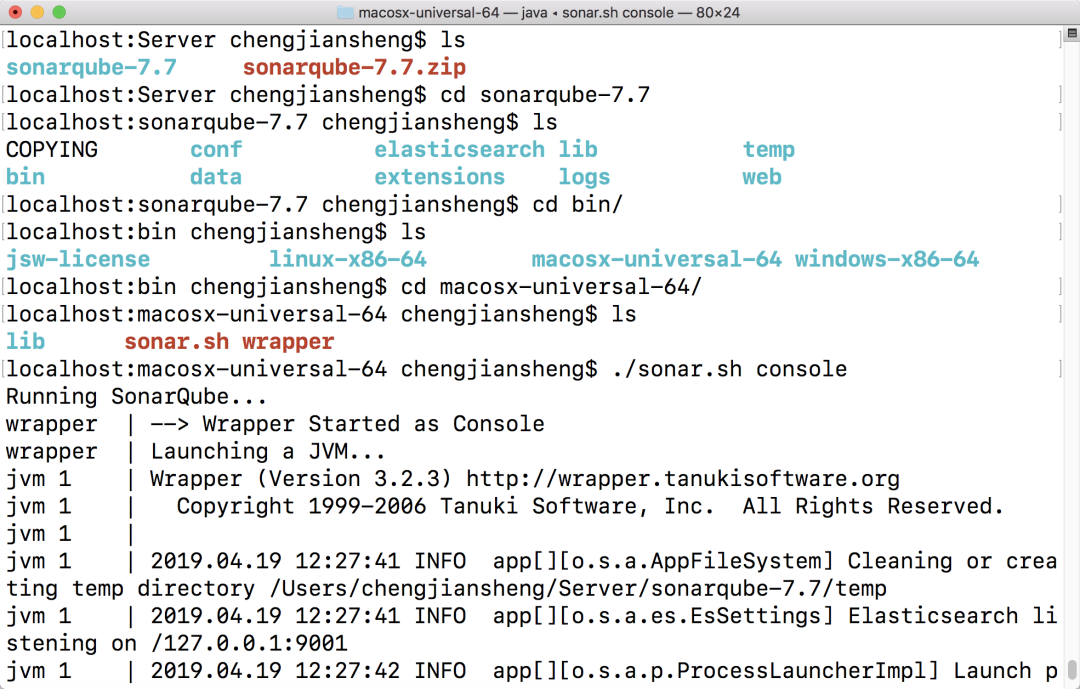
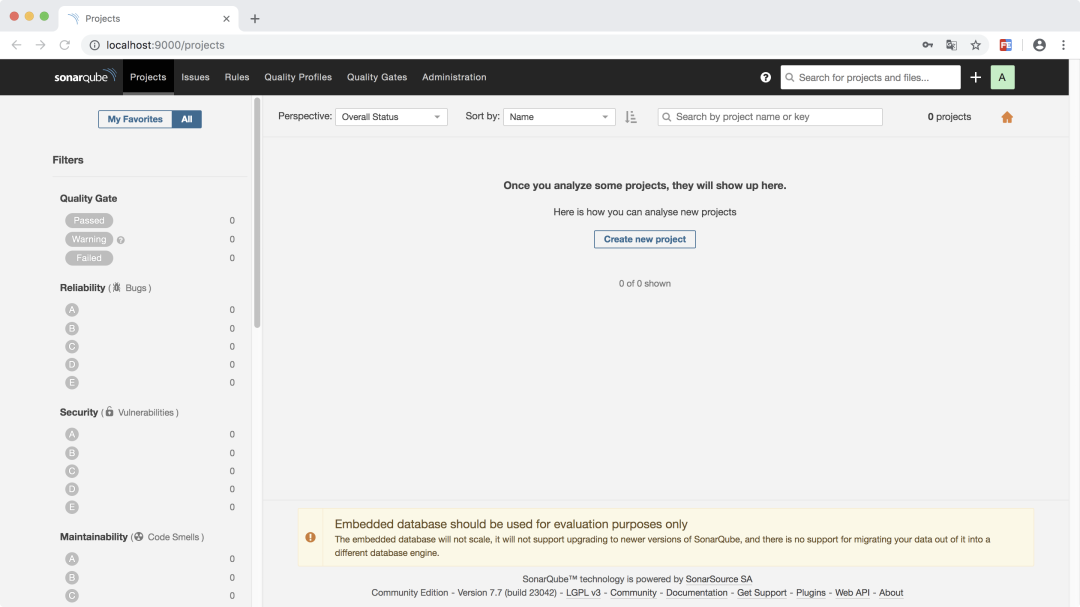
启动成功后,访问 http://localhost:9000 用管理员账号(admin/admin)登录
接下来,为了把检测的结果传到服务器,我们需要配置一个Scannerhttps://docs.sonarqube.org/display/SCAN/Analyzing+with+SonarQube+Scanner+for+Maven这里我在项目中添加 sonar-maven-plugin 插件
<build>
<plugins>
<plugin>
<groupId>org.sonarsource.scanner.maven</groupId>
<artifactId>sonar-maven-plugin</artifactId>
<version>3.6.0.1398</version>
</plugin>
</plugins>
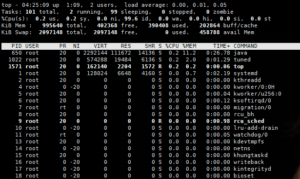
</build>命令行执行:mvn clean compile sonar:sonar成功后,可以在控制台中看到这样的输出
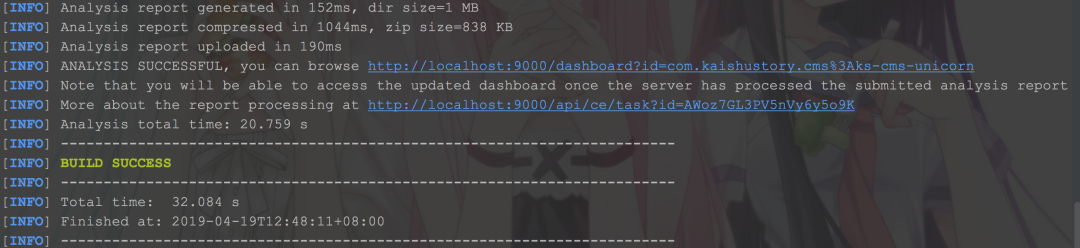
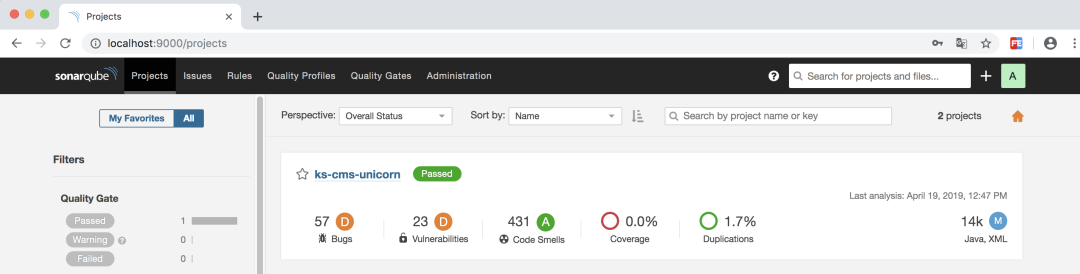
再次刷新 http://localhost:9000/ 会看到跟刚才不一样了
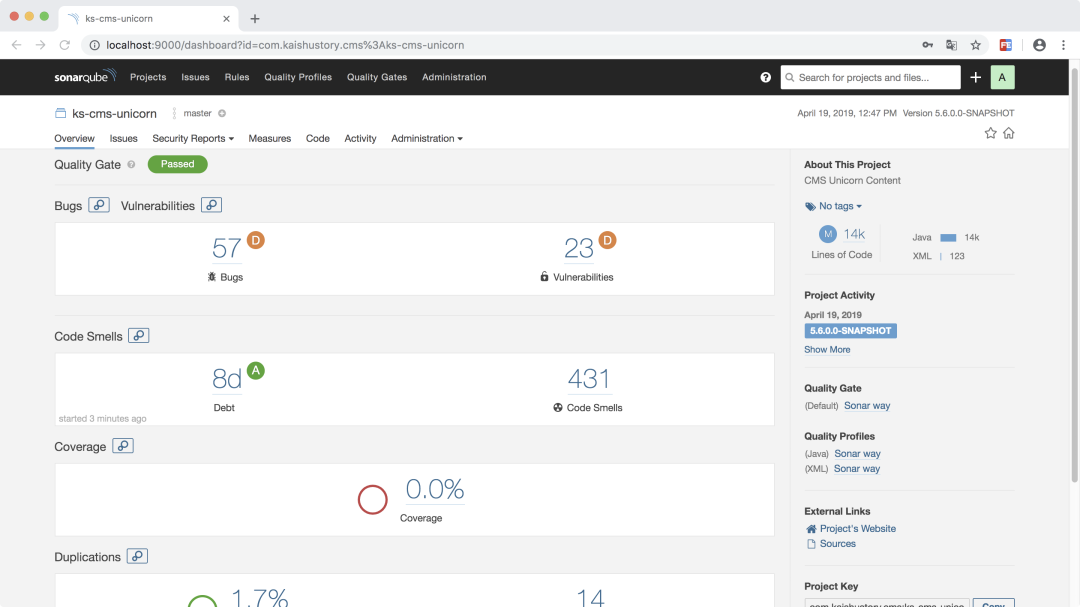
以上只是本地演示,在正式环境中这些数据当然要保存到数据库中,具体安装就不演示了,下面是文档https://docs.sonarqube.org/latest/setup/install-server/
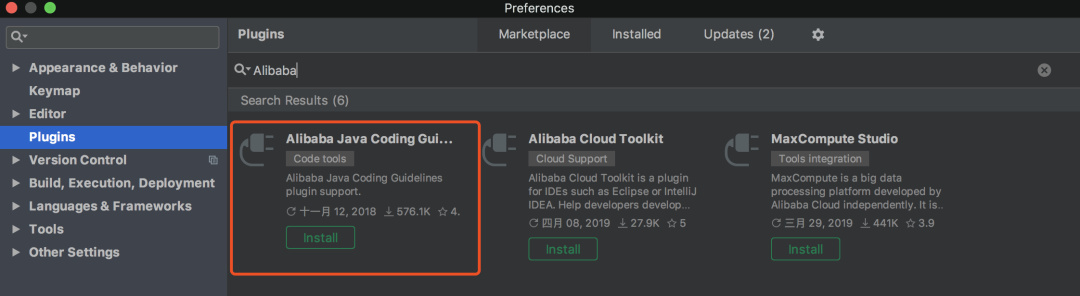
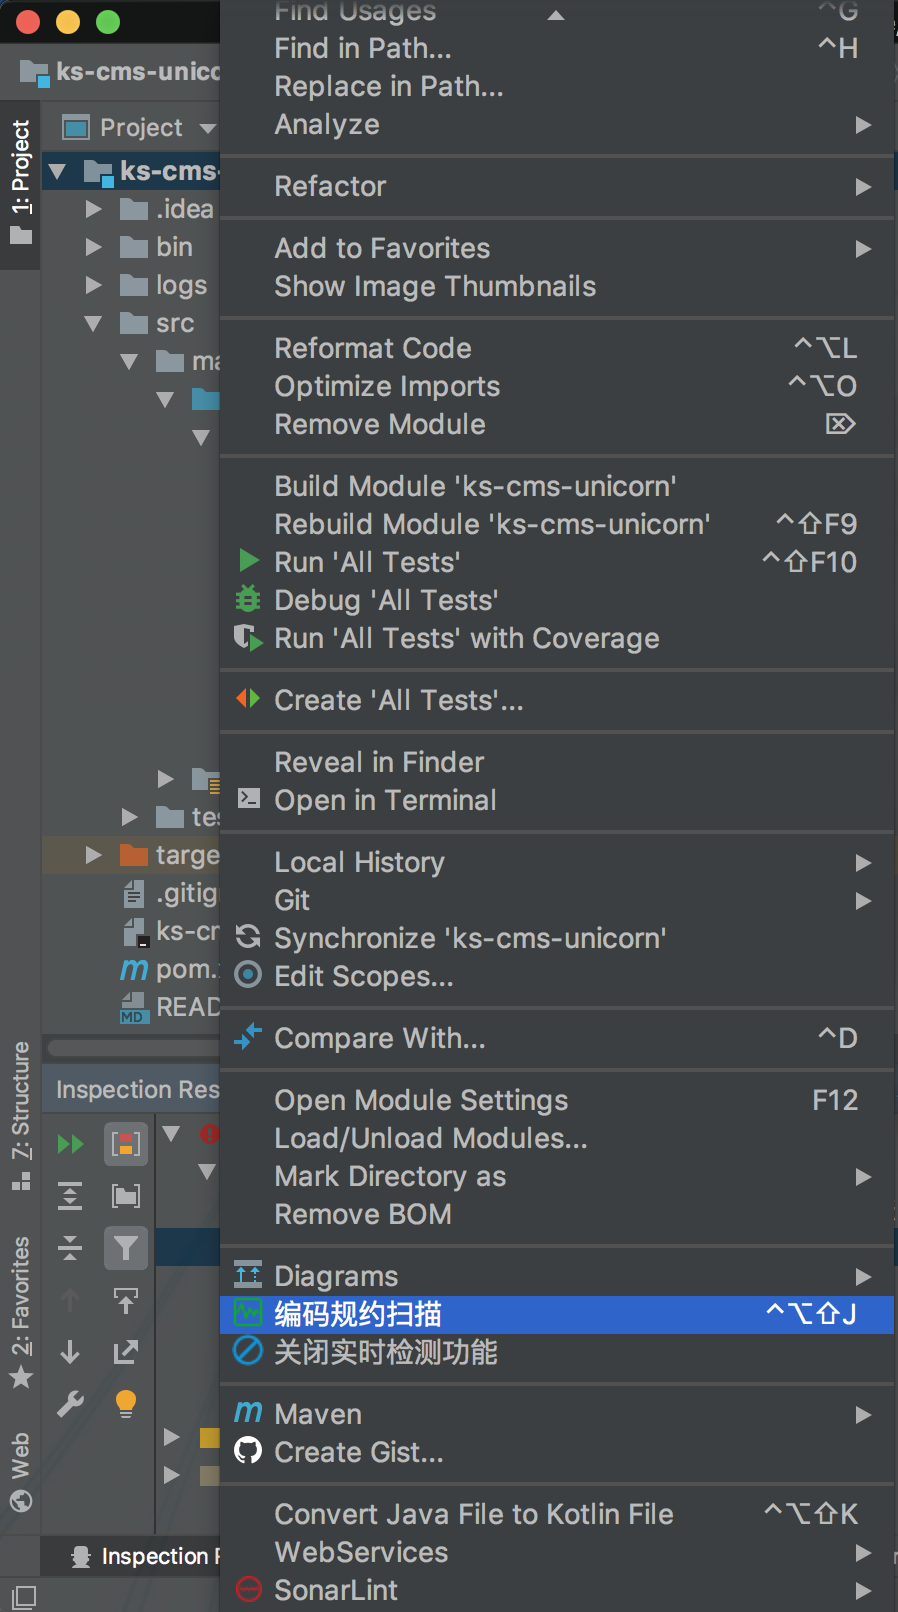
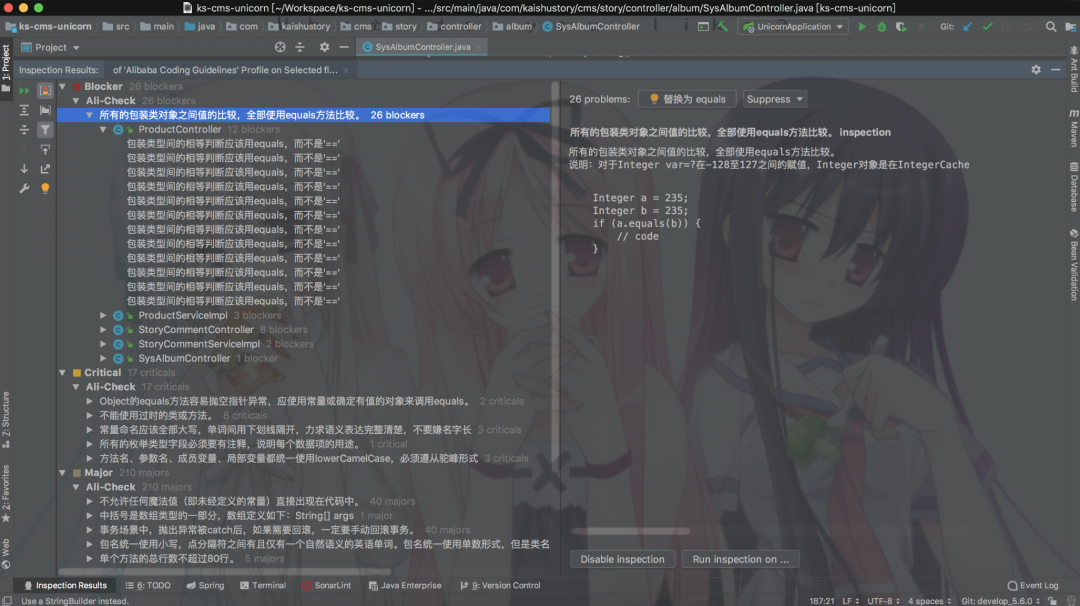
3. Alibaba代码规约插件
阿里代码规范,相信大家都不陌生